© 2022 Rachel L. Shumate | All rights reserved.
In this Photo Fun project, I’m going to show you a creative way to show off your work by turning one of your favorite pictures into a unique and meaningful jewelry piece. It’ really not hard, and you’re going to love your finished product. Let’s get started…
What You Need:
- Resin – you can find this at craft stores or online.
- A small plastic cup (large enough to mix the resin in) and a stirrer.
- A metal bezel of some kind. I’m using a heart pendant for this example.
- A printed photograph of your choice (needs to be on photo paper, not printer paper). Many people like to use pictures of loved ones for this type of project. If you do, make sure the image of the person is small enough to fit properly in the bezel. Well, unless you want it to look like your person is peeking out of the frame…
- A razor blade or small scissors.
- A pen or pencil.
- Some glue – I use E6000.
- Toothpicks – for spreading resin into tricky areas, and for popping bubbles.
- Q-tips – for cleaning up any minor spillovers.
- Paper towels – for any big messes.
- Rubber gloves – I personally find them to be more of a hinderance, and just make sure to wash my hands really well if I get any resin or glue on myself.
- Any additional embellishments you might like to add.
Directions:
- Ready your workspace. I suggest placing newspaper, or some kind of covering, on top of your (flat and even) working surface to protect it from any accidental spills. Also, it’s a good idea to work in a well-ventilated area because resin is stinky stuff. Don’t forget to gather all of your supplies before starting. And please keep safety in mind, follow all resin directions according to packaging, and use good sense.
- Take your bezel and put it upside down on top of your print where you would like the image to appear in the frame. Then trace around the bezel with a pen or pencil.
- Carefully cut your tracing out and see how it fits into the bezel. Note that some trimming may still be needed in order for it to fit properly.
- Put a very small dab of glue inside the bezel in the middle, and then place your trimmed print on top. Allow to dry. The glue is simply to keep your print on the bottom of the bezel once you pour the resin, because sometimes they tend to float upwards.
- Next, mix your resin according to the directions on the packaging. Chances are, you’re not going to need all that much, but it’s better to have more than not enough. So, just keep that in mind when mixing.
- Once the resin is ready, pour (or dab) it carefully into the bezel frame until it reaches the top. You may need to help spread it gently into some of the spaces. For instance, I used a toothpick to help the resin get into the bottom point of my heart frame. Also, please note that you can pour just a touch extra resin into the bezel to create a dome result if you would like for it to be roundish on top instead of even with the frame.
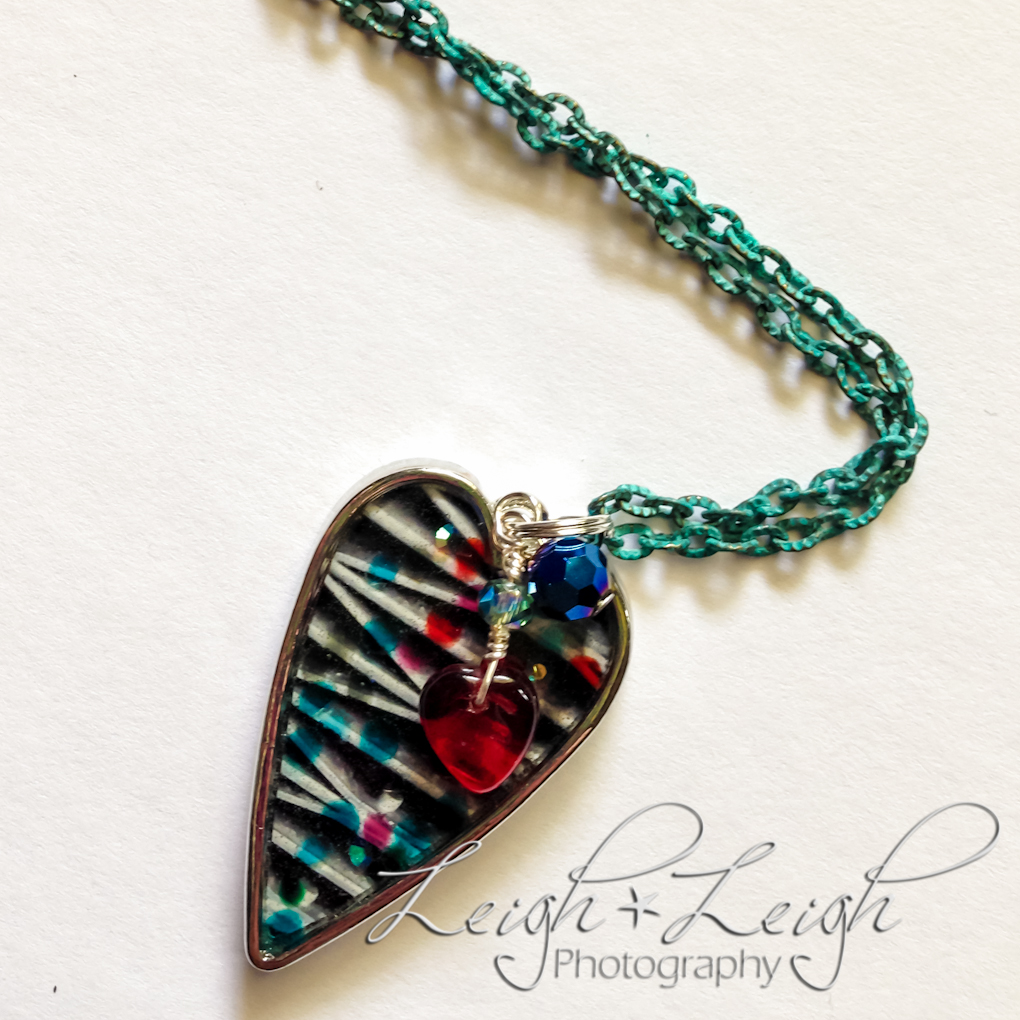
- If you have embellishments that you would like to add into the resin, you can do this (ever so carefully so you don’t spill over!) during step 6, or prior to. I would like to comment that in the picture below, I have little jewel-like embellishments that I added into my resin during step 6. Even though they are specifically sold for this type of project, they actually melted once added because resin gets that hot, apparently haha. I didn’t mind though; I sort of liked the result.
- Allow your piece to sit for 24 hours, or for however long the directions on your resin package suggests. You may notice that the resin has bubbles in it. Usually, these come up and out on their own, but I like to encourage them with a toothpick. So, I recommend watching to make sure these pesky bubbles get out for the first little bit before placing it aside in a safe place to harden.
- Clean up your workspace and dispose of unused resin.
- Once your piece is fully hardened, feel free to embellish it with a chain, beads, or whatever you like.
- And voilà! Now you have a one-of-a-kind work of art that you can proudly wear.
This is a fun and easy way to make all kinds of things. I hope you try it out, enjoy yourself, and create something you love. If you’d like to see more examples of how I use resin, feel free to peruse my online boutique.
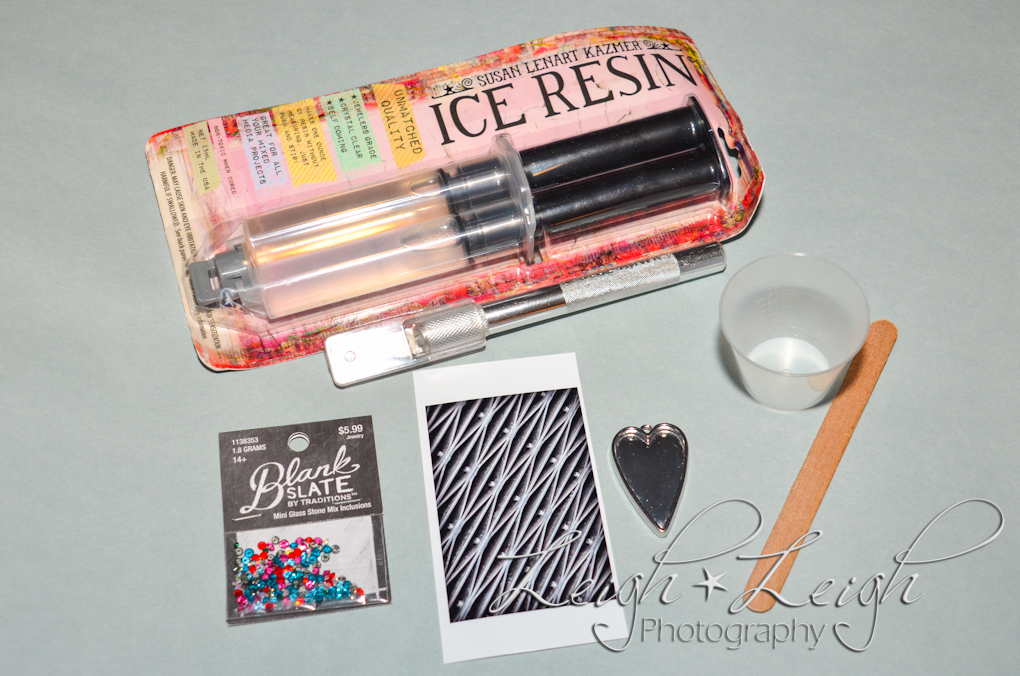
Some examples of needed supplies…
PS: While the photograph I chose to use was not of a person, this creation is still meaningful to me. I took this image while visiting Savannah, GA. It’s actually of a street grate that I found intriguing. And I was pleased with the effect of the melted jewels and the little red leaf I added for embellishments. Now I have a one-of-a-kind memento from our travels.