© 2023 Rachel L. Shumate | All rights reserved.
This spiffy project is fun for adults and kids alike, and as an added bonus, it’s also educational. I’ve always been fascinated by terrariums and have wanted to make one for years. I know that seems pretty comical since I have the worst luck trying to grow anything. Seriously, the last thing I killed was a tree. No joke; I killed a TREE. It’s a miracle the kid and the cat are thriving so well.
Regardless of my dismal track record, I decided that it would still be fun for Olivia and I to make terrariums. My sarcastic husband made the comment, “Wow, Mommy’s really living on the edge; she’s growing moss…” I can’t repeat what my retort was, but yes; growing moss is cool. I’m also pleased to tell you that Olivia enjoyed our little craft; and so far, we haven’t killed our moss yet – or the decorative rocks either, ha.
As it turns out, making a terrarium isn’t as complicated as I thought it might be. However, there seem to be many various ways (and layers) that folks recommend. So, not trusting myself to go it alone, I decided to simply buy a kit. Yes; I took the easy way out – partly because I wanted at least some chance of success and also because I didn’t want to buy a Lowe’s supply of each layer when we were only using tiny jars. I planned to make a terrarium not an entire garden. (And yes; I’ve tried and failed miserably at gardening too.)
If you’d like to give this project a go, I can tell you that making terrariums is a kid and mom approved craft. The end product is a fun mini oasis that looks awesome sitting on a shelf. And it also teaches kids about water cycle, climate, and how things are self-sustaining in a natural environment. See below for suggested materials and steps to get you started.
Supplies:
- A jar (I chose fancy glass ones, but you might want a plastic container depending on the age of your child.)
- Moss or other plant life (succulents, air plants, and cacti are good for open-air terrariums)
- Orchid Bark or pebbles for drainage
- Potting Soil
- Activated Charcoal (helps to keep your jar from getting smelly)
- Fun Mini Decorations
Directions:
Ready your working area, and make sure your jar is clean and shiny so that you will be able to see your little plants when you’re finished. Note that this process can be a bit messy, so it might be a good outside project if you don’t relish cleanup, or have a kiddo that is younger and more prone to spills.
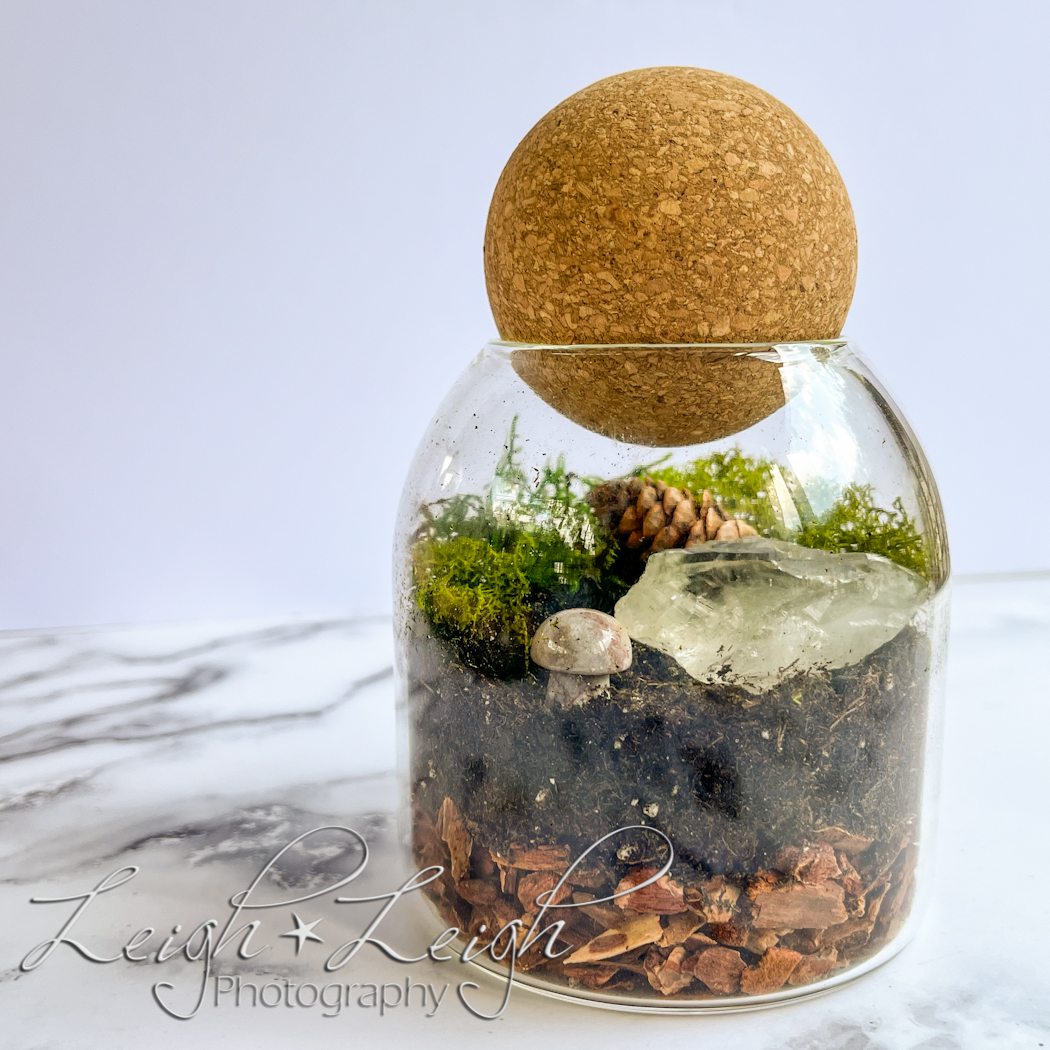
First, put down a layer of bark, or pebbles, along the bottom of the jar about an inch or so deep. Next, add a layer of activated charcoal about half an inch deep. Then fill the jar about halfway with potting soil and pat it down with your fingers or a spoon. It’s also a good idea to sprinkle a little bit of activated charcoal on top of the soil to further help with the smell and prevent fungi. Next, water your soil (just a small amount; don’t drench it). Last, plant your moss and arrange your greenery however you like. Don’t be afraid to get creative with your landscaping, and have fun enhancing your mini garden with things like decorative rocks, shells, pine cones, figurines, or whatever you like! (A miniature garden gnome or fairy would be super fun.)
Once you’re finished, secure the lid on your jar (unless you’ve chosen an open-air container, of course), and place somewhere in indirect sunlight. And voilà! Now you have a super cute tiny garden.
I hope you have fun, and that your little terrarium thrives nicely. Check back with me in a month or two to see if mine is still alive, haha.
🙂