© 2025 Rachel L. Shumate | All rights reserved.
So, if you’re wondering what the heck a “seed bomb” is, it’s a small cluster of wildflower seeds that have been packed together – in this case with dried paper pulp. The idea is that you toss them into your backyard to plant them. And in doing so, you not only beautify your outside space, you also help out the bees, butterflies, and all of nature’s pollinators. It’s a win-win!
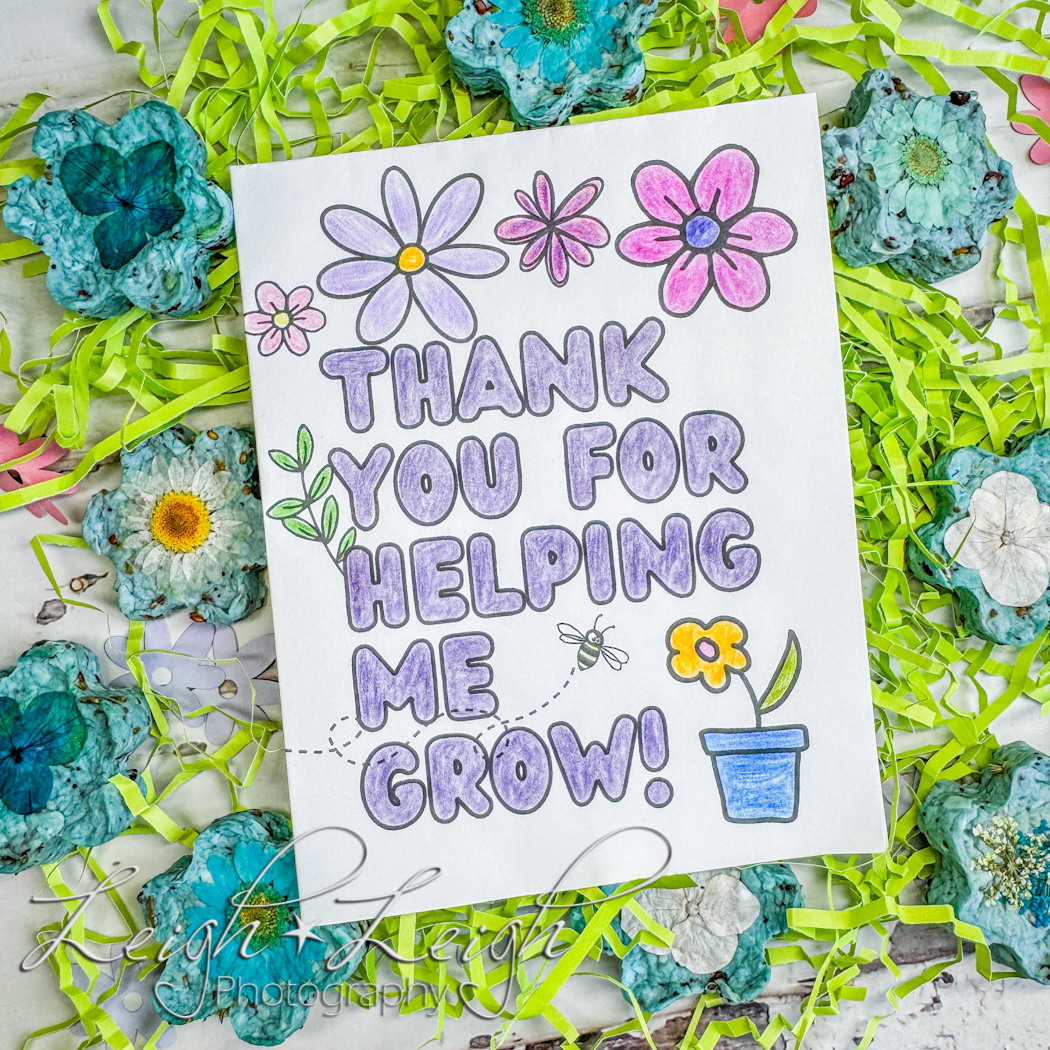
This project is super fun for kids and adults alike, and they also make for lovely gifts! (See below for a free printable card.)
Recipe makes approximately 12 seed bombs, depending on the size of your molds.
Materials Needed:
- 2 cups of shredded paper (preferably recycled paper from your shredder)
- 2 torn-up pieces of colored tissue paper (of the same color)
- 1 1/3 cups of water
- 2 Tbs of wildflower seeds (you will need several packets if they are small; the one I used was 12 G)
- Blender or food processor
- Bowl
- Old towel
- Fun silicone molds (or you can use a muffin tin or ice cube trays)
- Dried flowers for embellishments, if desired
Directions:
First, combine the shredded paper and water into your blender or food processor. You may want to add a little bit at a time so as not to bog down your appliance. Then, add in torn pieces of tissue paper (for a pop of color) and blend until you have a nice pulpy mixture. Next, pour your concoction into a bowl and gently stir in the wildflower seeds. Once your seeds are thoroughly blended into the paper pulp, spoon the mixture into your molds. In order to remove excess moisture, gently press the towel into the molds. (Heads up, doing so will likely stain your towel.) This process will compact the pulp and soak up all the extra water. If you would like to use dried flowers as fancy embellishments, place them on your (now compressed) seed bomb by pressing them firmly on top, while still in the molds. Doing this step last ensures that the flowers don’t get too wilty from all the excess water. Though, depending on your mold, this may mean that the flower is now on the bottom… Finally, let them air dry for a day or two.
Then, voilà! You now have cute seed bombs to toss out in your yard, or to use as an awesome gift. If you have the latter in mind for your freshly finished project, click below for a fun printable card that you can use to go with your adorable seed bombs. (The combo makes for a cute and thoughtful teacher gift.) Either way, you just made good use of recycled paper, and are helping out our pollinators and Earth by planting beautiful flowers. Thank you!

PS: Fun fact… Seed bombs became popular in the 1970s and were used by a group called the Green Guerrillas. They would lob seed bombs into vacant lots and various other places to help boost pollinator habitats in urban landscapes.
🙂