© 2022 Rachel L. Shumate | All rights reserved.
Here’s a nifty image transfer project for the next time you feel like getting crafty or creative. It’s actually not difficult or terribly involved, and the end result will blow you away. The best part is you can create a variety of pieces depending on what kind of image you want to use (i.e. a photograph, family picture, or artwork). Want some new art for your wall? Or maybe a special family picture for an amazing gift…? Here’s your opportunity to shine. However, in any case, just be sure to use your own image so as not to infringe on any copyright laws. Let’s get started!
(Please note that this project requires lots of drying time, and may take a couple of days to complete.)
Here’s what you’ll need:
- A blank canvas (I personally like the 6×6 inch size)
- An image printed on regular office paper using a laser printer (this is key). It’s also important to reverse the image before printing so that your end product will be the right direction. The UPS store is a great place to have it printed, and they can even flip the image for you if need be. It is also best to make the image the same size as your canvas so that it fills up the whole space.
- Liquitex gloss medium (heavy)
- Mod Podge
- White paint
- Other paint colors of your choice
- Paint brush
- Foam paint brush
- Sponge
- Sandpaper
- Finishing findings such as a sawtooth hanger and felt bumpers
- Krylon UV Archival Varnish Spray
After you’ve gathered all your supplies, go through the following steps:
- First, paint your canvas white all over (sides too). This isn’t exactly a requirement, but it makes the end result much more polished. Let dry before continuing to the next steps.
- Next, use your foam brush to paint a thin layer of Liquitex medium on the top of your canvas. Once the top is completely covered, line up your printed image where you want it, and put it facedown onto the canvas. Then press firmly and smooth out any wrinkles. Let dry overnight.
- Once your project is completely dry, wet down the paper with water and start rubbing the paper off the canvas. The ink from the print adheres to the Liquitex medium so your image will not rub off with the paper. This step takes some patience and a LOT of rubbing. And honestly, the best instrument for the job is simply your thumbs. You will likely need to use a bit more water throughout the process. Eventually when you have rubbed off all the paper, your image will look like it was printed onto the canvas. Then let dry.
- After your canvas has once again dried completely, coat the top with an ample layer of Mod Podge. And you guessed it, let it dry.
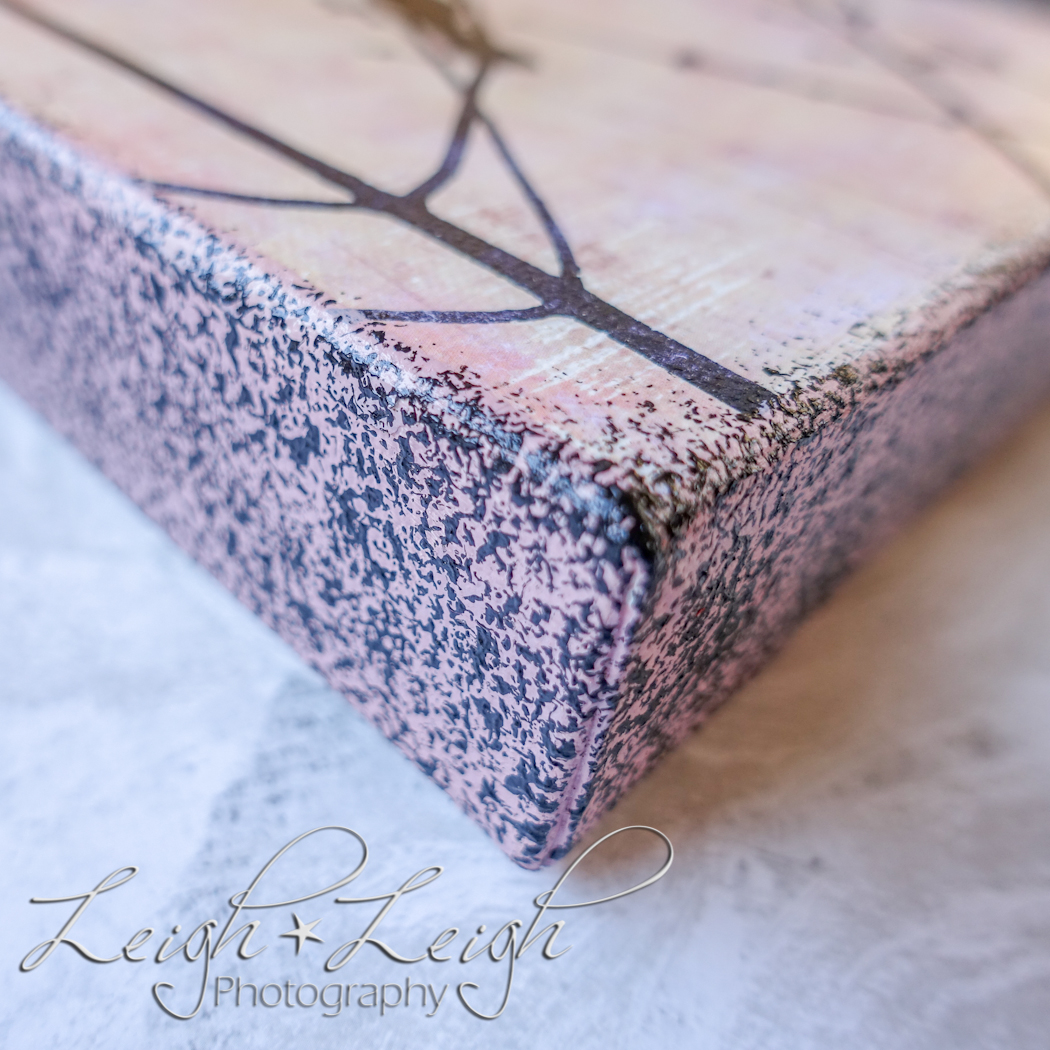
- Then, I personally like to paint the sides of my canvas and add a bit of texturing with a sponge in a different color. You can also scrape some sandpaper around the edges of your image to give it some more character. (I recommend doing so before applying paint.)
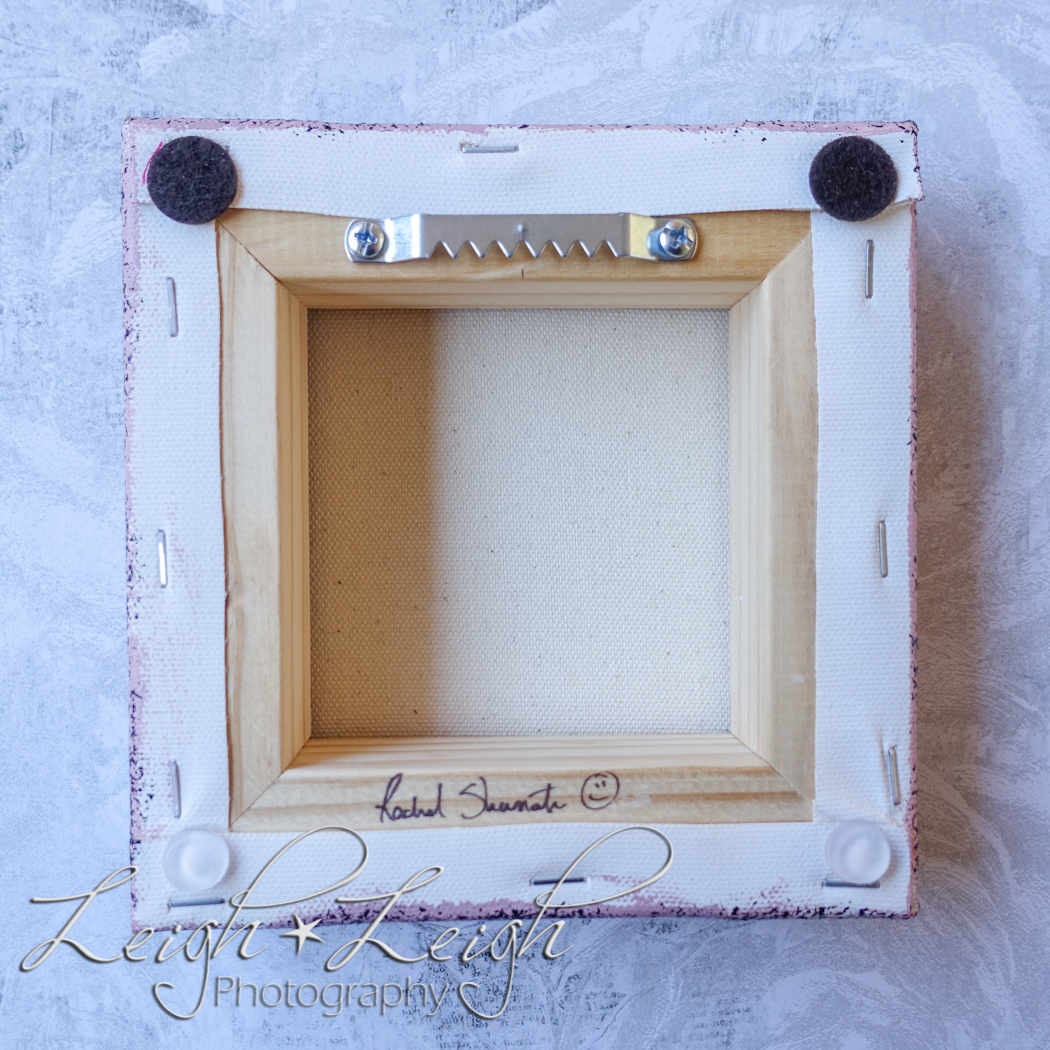
- Last, spray your project with some Krylon UV Archival Varnish to protect it. And once it’s dry (yes; there’s lots of drying involved with this project), you can finish it with a sawtooth hanger and add some wall bumpers in the corners. Also, don’t forget to sign your work!
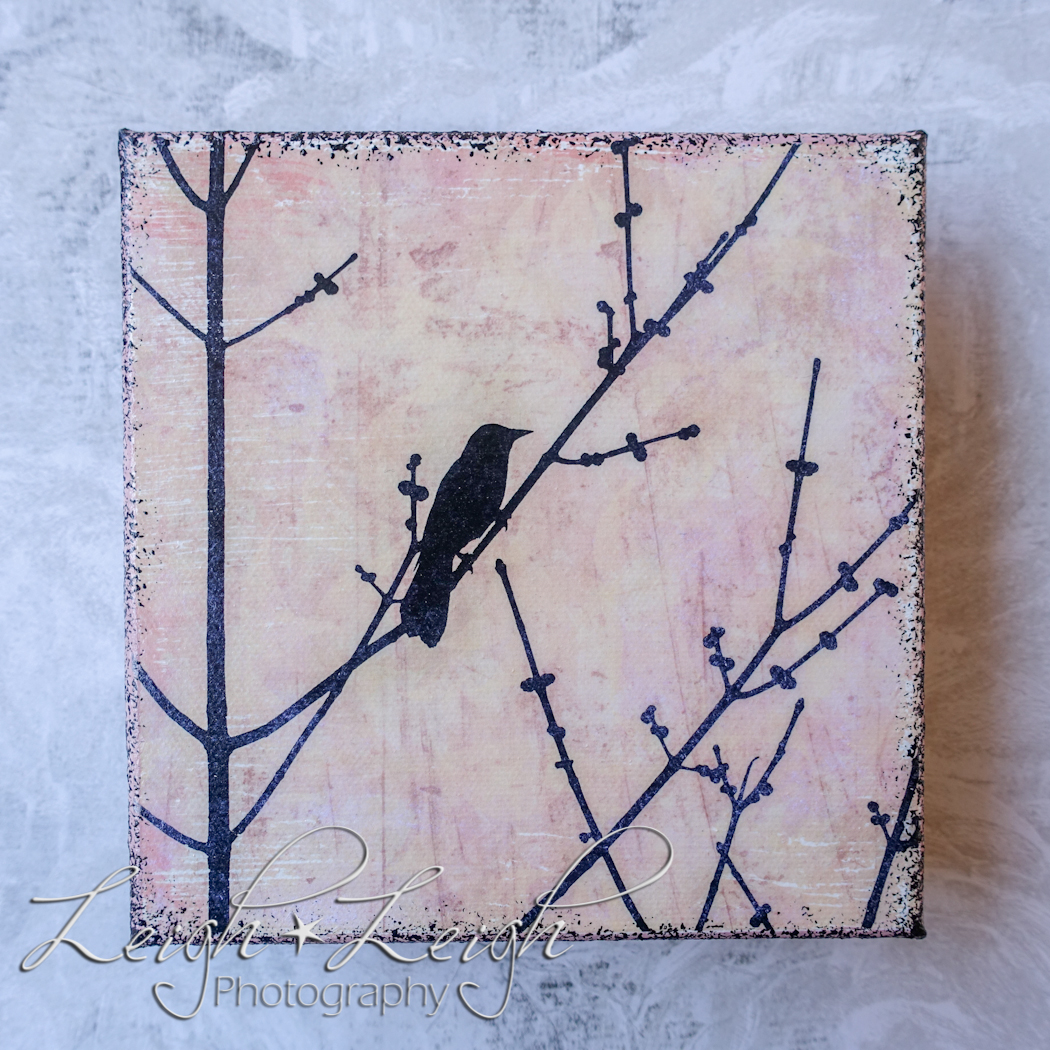
And voilà! You just created a one-of-a-kind work of art! I actually use this process to create pieces to sell in my boutique, like the image featured above. I’d also like to mention that if it doesn’t turn out exactly the way you want it to, don’t be discouraged. Like with anything, practice does help.
Happy creating!!
PS: You can even use this technique to apply images to wood. Just be sure not to give yourself any splinters when rubbing the paper off – ouch!


