© 2024 Rachel L. Shumate | All rights reserved.
So, I discovered something really awesome! It’s called a blender pen. This small, but mighty art supply has opened up so many possibilities for fun art projects. In fact, if you decide to give this Photo Fun post a try, take heart in knowing that I’m sure we’ll be using that blender pen you just purchased again in the near future. (If you don’t use it up playing beforehand.)
What is it that we’re doing exactly…? Well, we are transferring an image onto a piece of paper. You might be wondering why that’s so neat if the image is already on a piece of paper. Because my friend, we can now put our images on all sorts of fun things: book pages, journal pages, mixed media art, and even wood!
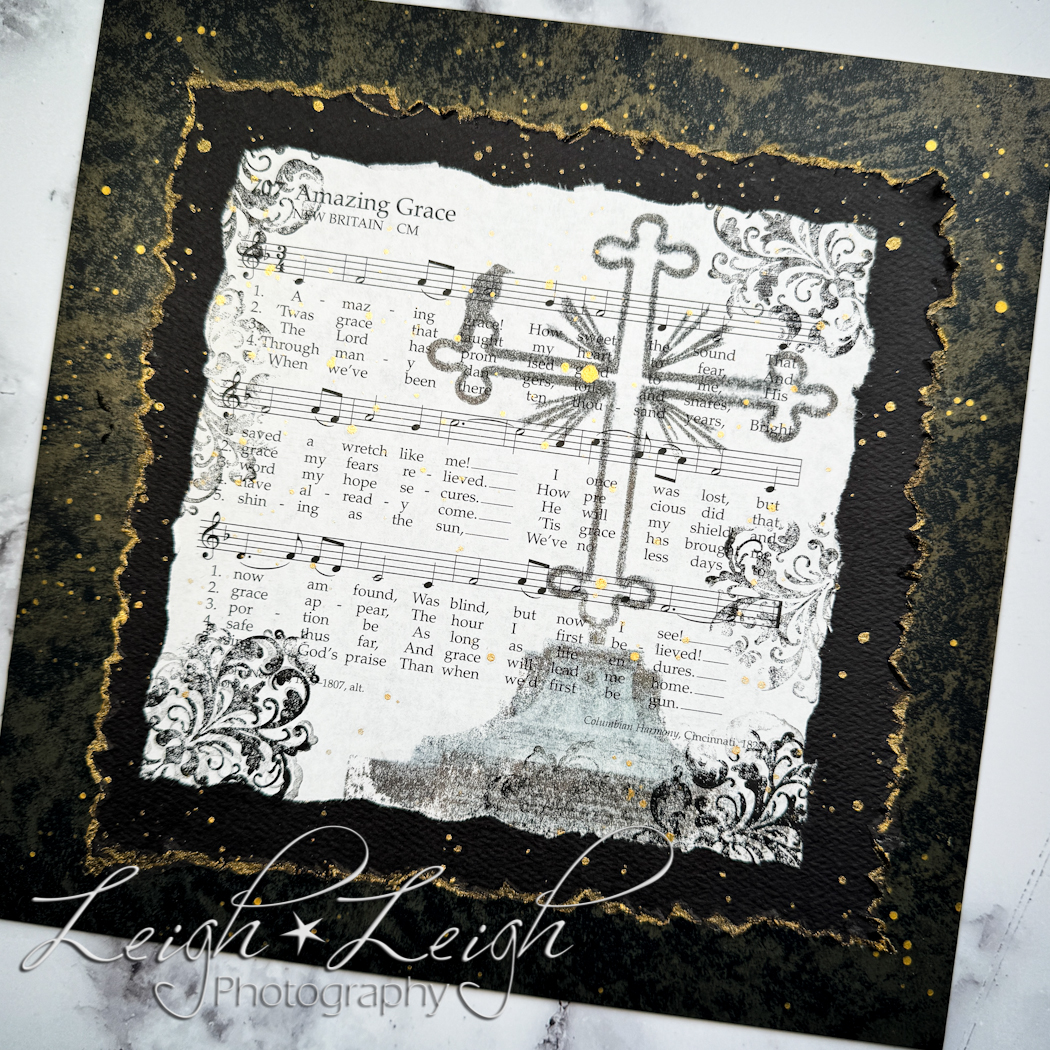
For my sample, I used a page out of a recycled hymnal. (My church was tossing them out, so I rescued one. It was given to me; I did not steal it, ha.) Then I took my image of the bird perched on a steeple cross, placed it on top of the song page I’d picked out, and used the blender pen to transfer the image onto it. Afterwards, I jazzed it up with some matboard, stamps, gold paint, etc. to make a nifty work of art. (My crafting stash contains allllll sorts of treasures, haha!)
Wanna give it a try?! I’m pretty sure you’re going to love it, as well as all the potential it has for producing some really cool art.
By the way… This Photo Fun project is super simple – but also a bit stinky, so you might want to do this outdoors or in a ventilated area.
Here’s what you’ll need:
- A piece of paper that you want to transfer the image onto
- An image printed on regular office paper using a laser printer (this is key). It’s also important to reverse the image before printing so that your end product will be the right direction. The UPS store is a great place to have it printed, and they can even flip the image for you if need be.
- A colorless blender pen
- Scissors
- Washi tape
- Any other fun art supplies that you might want to use as finishing touches
Directions:
- First, ready your working area by lining your surface with wax paper or a random piece of paper that can simply act as a protectant to both your work and your tabletop. (Things can get a little damp.)
- Next, line up your printed image where you want it, and put it facedown onto on your new paper/page. If need be, trim your printed image. And if you think it would help, you can also use washi tape on the edges to hold down the image for the transfer process.
- Then, using your blender pen, gently “color” over the image, using long and even strokes (like you’re using a highlighter). Make sure to hold your paper in place. And once you start seeing the image through the wet paper, you can check to see how the image is transferring onto your new paper.
- Once you have the image transferred to your liking, let it dry.
- Last, embellish as desired.
And voilà! You just created an awesome work of art! So fun; right?!
🙂